A watercolour by and with Marina Abramova
Up to now, people tend to believe that watercolours suit just landscape and flower painting particularly well.
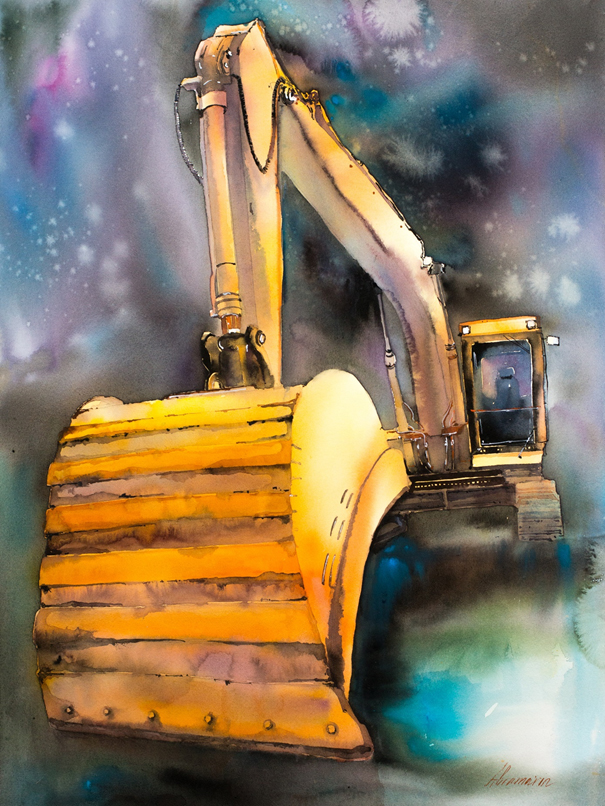
Today I will paint an excavator to demonstrate that watercolour painting offers far more possibilities. And don’t be afraid, this will be anything but technical drawing where every detail has to be absolutely exact but a watercolour with colour gradients and a lot of freedom.
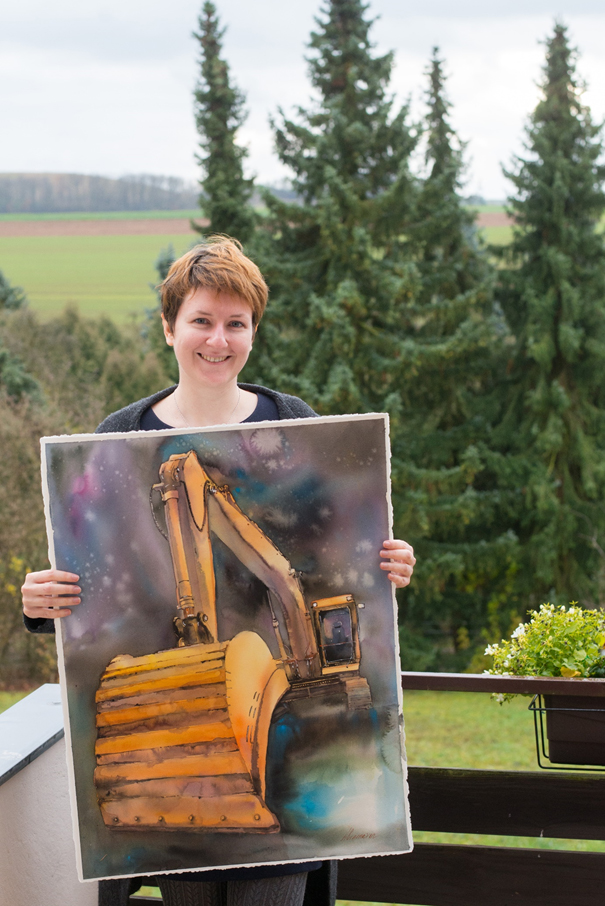
I paint on the watercolour paper Hahnemühle Leonardo, matt. My paper is a real deckle-edged mould-made 600gsm cardboard. The paper stays wet for a long time and allows me to blend a lot of colours right on the paper to create different and beautiful watercolour effects.
I like the paper’s structure as the matt surface offers me the possibility to not only paint gradients but exact details too. The flow properties are really nice. It can be controlled but is wilful enough to make for the desired effortlessness.
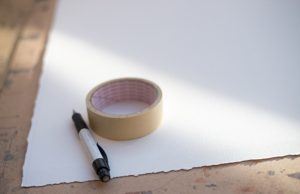
Let’s go: at first, the paper is fixed on a board.
Simple adhesive tape will be enough as the chosen 600gsm paper is very dense. It keeps its form and doesn’t ripple during the painting process.
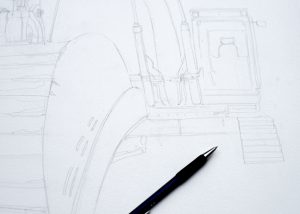
Step one: pencil drawing. I use a pencil with the hardness degree 2B for this step. Should your draft be too powerful you can carefully remove the superfluous graphite with an India rubber.
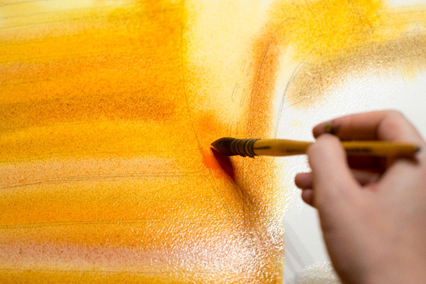
For this picture, I mainly – but not exclusively – use two techniques: ‘Wet in wet’ and ‘negative painting’.
In the second step I moisten the area where I want to paint my excavator and apply colour. Here I use the artist paints cadmium yellow, Saturn red and cobalt purple in tubes of the company Schmincke and the rests on my palette that haven’t got names.
For my painting I work with da Vinci paint brushes – broad flat brushes with 30mm squirrel hair, synthetic paint brushes of the Cosmotop-spin series – one with a pointed-oval shape (N24) and a round one (N10). And a round French watercolour paintbrush with squirrel hair N10 – a paintbrush I use for nearly each of my pictures.
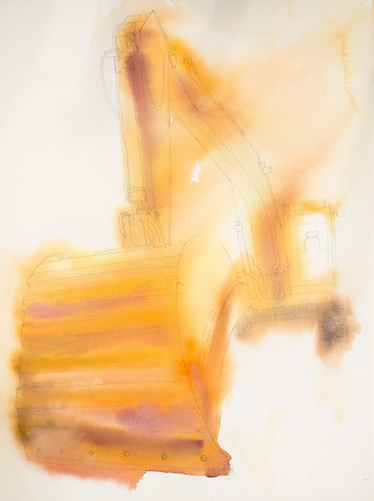
The result looks slightly surreal but don’t worry because the colours are slightly running out of the contours.
I let the paper dry. To accelerate the drying a hair dryer is helpful.
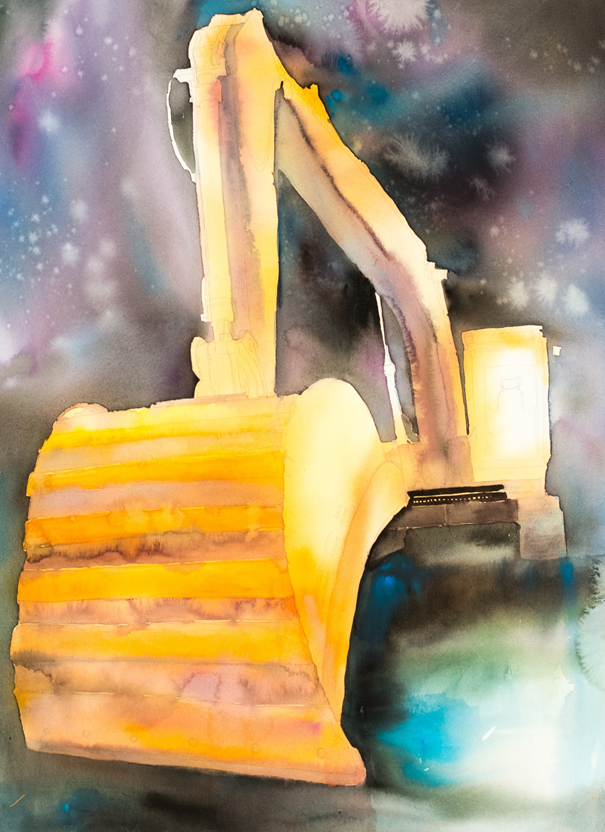
Now it’s time to create a background. I moisten every area apart from the excavator. Afterwards I apply paints to the wet surface and let it run to every direction by lifting the paper.
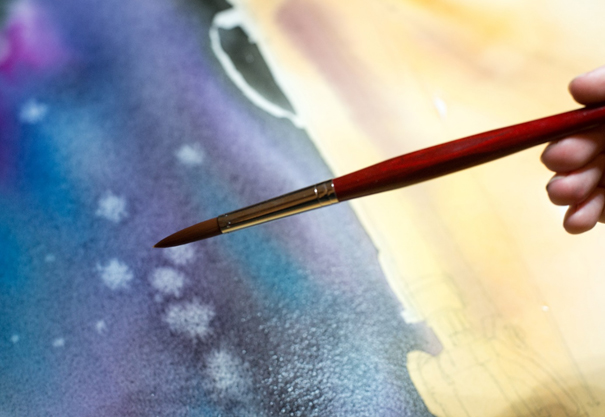
When the paper is no longer wet (only moist) I continue painting. With the help of my brush and pure water I am able to lift off the paint – creating ‘star’ effects. With a drop of water I remove the colour again. While doing so I benefit from a property of the genuine mould-made paper: that the fibres point to different directions. This helps me to create the beautiful, light star effects.
Afterwards I let the paper dry.
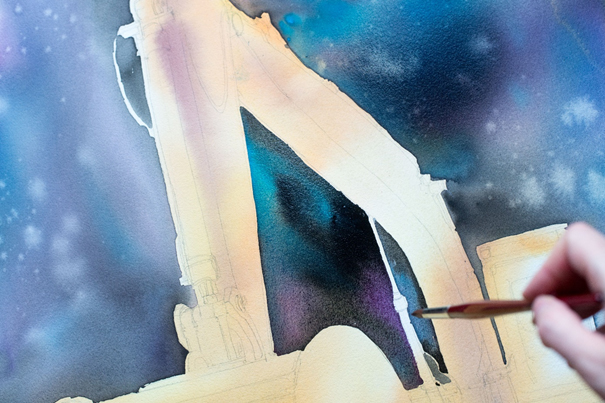
In step four I add the shadows to the shovel and the excavator arm. For this step I use Schmincke Chinacridon crimson and Kobaltcoelin.
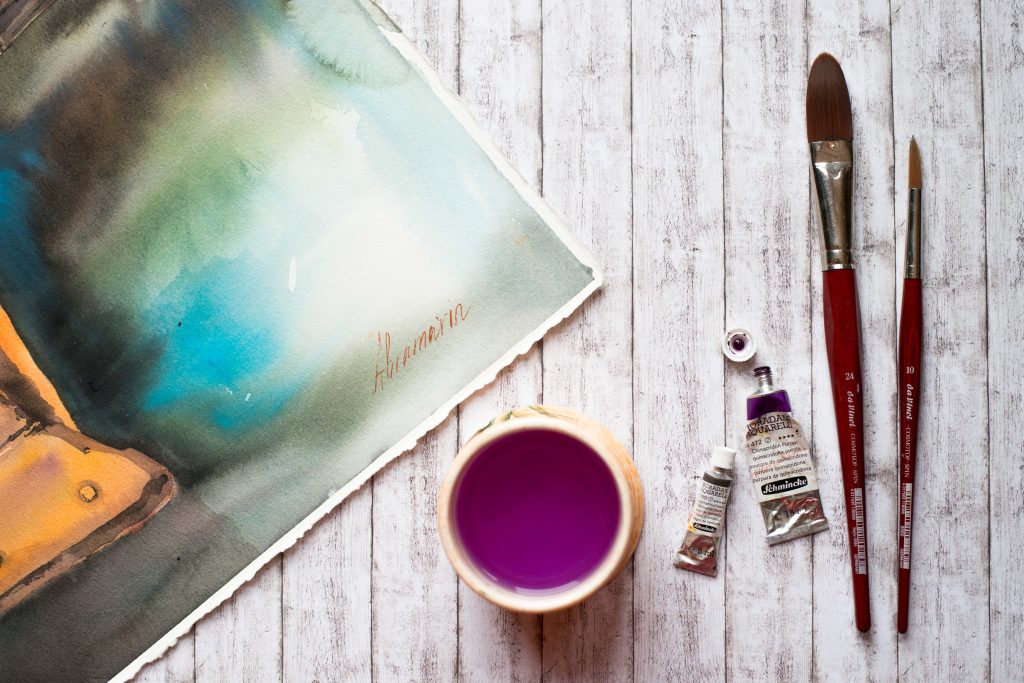
As a final measure I add the details that are painted on dried paper. With a fine DaVinci paintbrush – it’s a special paintbrush with articulated extra long top, made of pure Kolinsky Red Sable hair and a paintbrush body of squirrel hair. With this paintbrush I give the excavator several sharp contours.
And, at the very end: the signature, of course. Ready! More of my works, like my visual diary can be found at www.abramarin.com – also in Russian – or you can find me on Instagram.


Beautiful work. I love how you’re finding the beauty in even big industrial machines. It proves everything has beauty in the hands of an artist.
This is Amazing work looks like you have print it not paint it.
Great work! Keep posting thanks for sharing.
I really appreciate your talent beautiful.
had a great time while read